
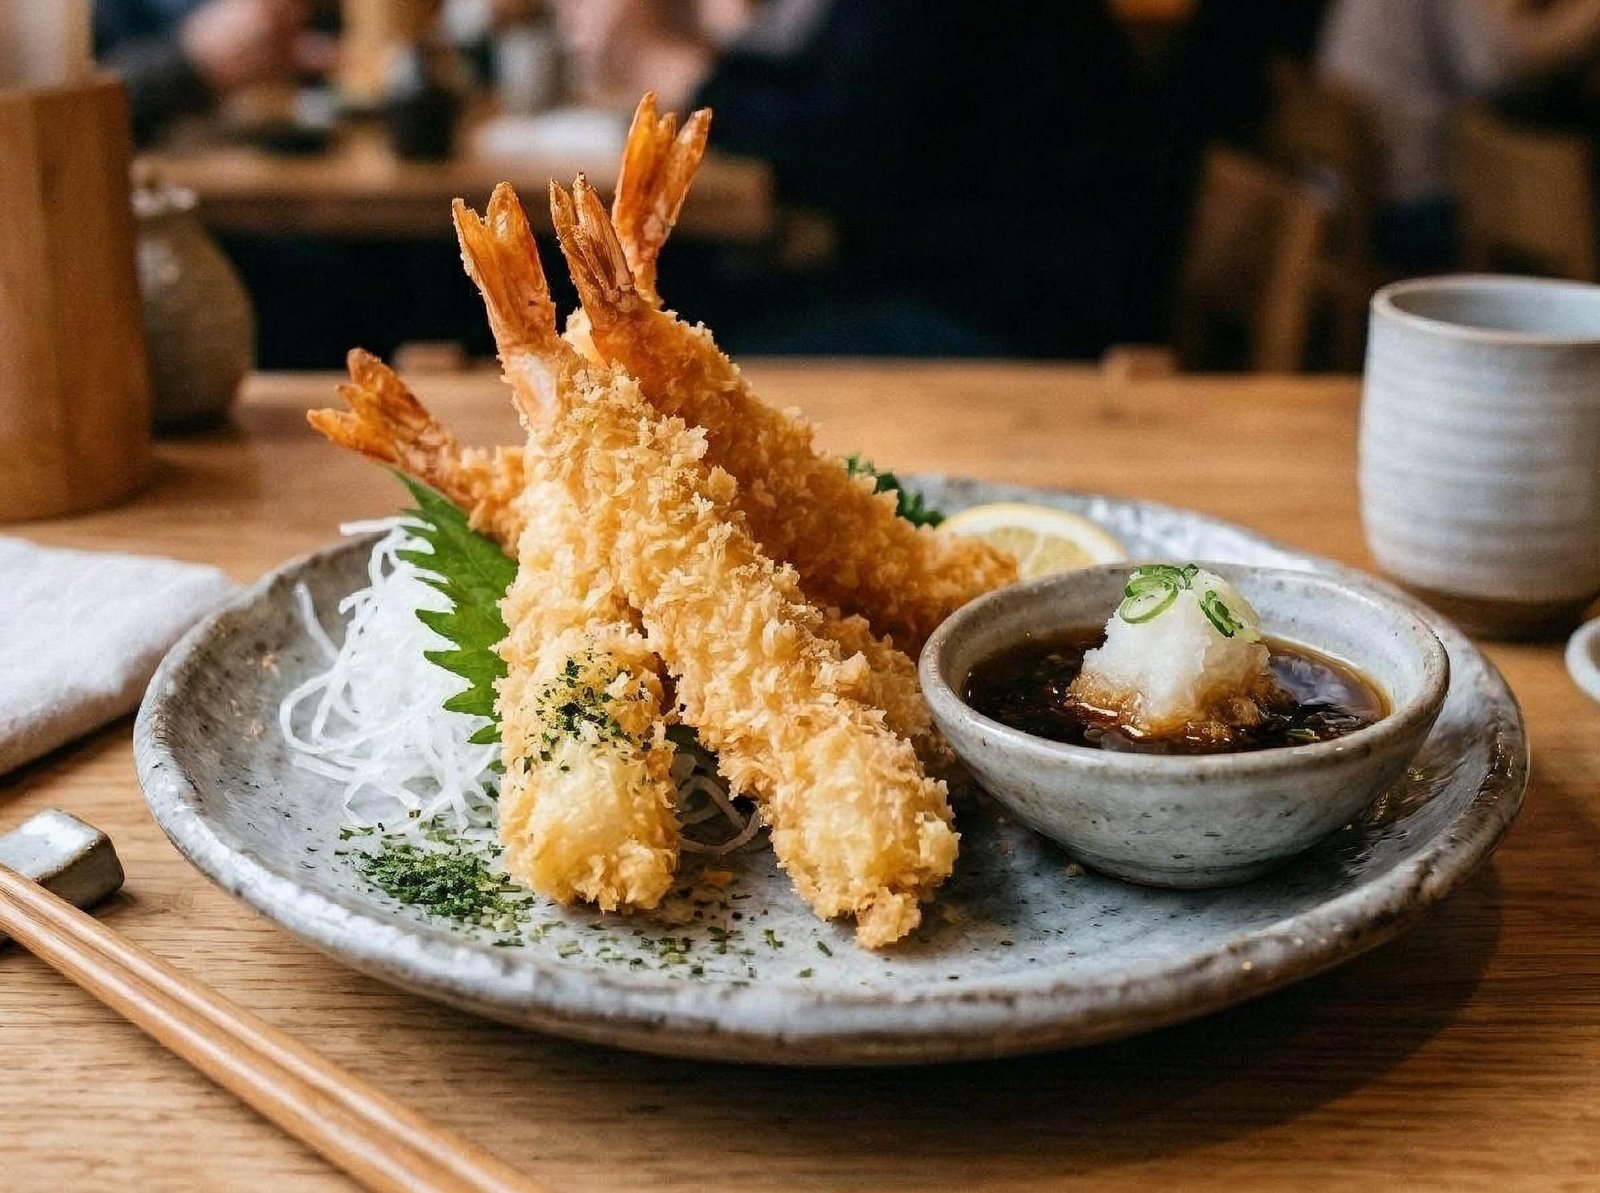
Tempura Shrimp Recipe – Crispy, Light & Restaurant-Style
- Tempura Shrimp is a classic Japanese dish featuring large shrimp coated in a light, airy batter and deep-fried until perfectly crisp and golden. Unlike heavy fried coatings, tempura batter creates a delicate, crunchy texture that highlights the natural sweetness of the shrimp.
- The secret to restaurant-style Tempura Shrimp is using ice-cold batter, very cold water, and hot oil at the correct temperature. This creates the signature light, crispy coating that stays crunchy without becoming greasy.
- This homemade recipe is simple to prepare and is perfect as an appetizer, snack, or main course served with dipping sauce and steamed rice.
Recipe Information
| Details | Information |
|---|---|
| Cuisine | Japanese |
| Course | Appetizer / Main Course |
| Preparation Time | 20 Minutes |
| Cooking Time | 15 Minutes |
| Total Time | 35 Minutes |
| Difficulty | Medium |
| Servings | 4 |
| Calories | Approximately 390 kcal per serving |
Ingredients

For the Shrimp
| Ingredient | Quantity |
|---|---|
| Large Shrimp (Peeled & Deveined) | 16 |
| Salt | ½ tsp |
| Black Pepper | ¼ tsp |
| All-Purpose Flour | ½ Cup (for dusting) |
For the Tempura Batter
| Ingredient | Quantity |
|---|---|
| All-Purpose Flour | 1 Cup |
| Cornstarch | ¼ Cup |
| Egg | 1 Large |
| Ice-Cold Water | 1 Cup |
| Baking Powder | ½ tsp |
For Frying & Serving
| Ingredient | Quantity |
|---|---|
| Vegetable Oil | For Deep Frying |
| Tempura Dipping Sauce | As Needed |
| Lemon Wedges | For Serving |
Equipment Needed
- Deep frying pot
- Mixing bowls
- Whisk
- Tongs
- Wire rack
- Paper towels
- Thermometer (optional)
Step 1 – Prepare the Shrimp

- Peel and devein the shrimp, leaving the tails attached for a traditional presentation.
- Make a few shallow cuts along the underside of each shrimp and gently straighten them to prevent curling during frying. Pat the shrimp dry with paper towels and season lightly with salt and black pepper.
- Dust each shrimp lightly with flour, shaking off any excess. This helps the batter adhere evenly.
Step 2 – Make the Tempura Batter

- In a bowl, lightly beat the egg and add the ice-cold water.
- Add the flour, cornstarch, and baking powder. Mix gently with chopsticks or a whisk until just combined. The batter should remain slightly lumpy—avoid overmixing, as this helps keep the coating light and crispy.
- Keep the batter cold until you’re ready to fry.
Step 3 – Heat the Oil and Coat the Shrimp

- Heat the vegetable oil to 175°C (350°F).
- Dip each floured shrimp into the cold batter, allowing any excess to drip off. Carefully lower the coated shrimp into the hot oil one at a time, avoiding overcrowding the pot.
- The shrimp are now ready to fry until crisp and golden.
Tempura Shrimp Recipe – Crispy, Light & Restaurant-Style (Part 2)
Step 4 – Fry the Shrimp

- Carefully fry the battered shrimp in batches for 2–3 minutes, turning them once or twice until they become light golden and crispy.
- Avoid overcrowding the fryer, as this lowers the oil temperature and can make the tempura greasy. The shrimp should cook quickly while remaining tender and juicy inside.
- Once cooked, remove the shrimp using tongs or a slotted spoon and place them on a wire rack or paper towels to drain excess oil.
Step 5 – Prepare the Dipping Sauce

- While the shrimp are cooling slightly, prepare the dipping sauce if making it from scratch.
- Combine the following ingredients:
- ½ cup dashi stock
- 2 tbsp soy sauce
- 2 tbsp mirin
- 1 tsp sugar
- Heat gently until the sugar dissolves, then allow the sauce to cool slightly before serving.
- For an authentic Japanese touch, serve with grated daikon radish alongside the dipping sauce.
Step 6 – Keep the Tempura Crispy

- Arrange the fried shrimp on a wire rack instead of stacking them on a plate. This allows excess steam to escape and keeps the coating crisp.
- If frying multiple batches, keep the cooked shrimp warm in a 95°C (200°F) oven until all the tempura is ready.
- Serve immediately for the lightest, crispiest texture.
Tempura Shrimp Recipe – Crispy, Light & Restaurant-Style (Part 3)
Step 7 – Garnish and Final Touch

- Arrange the crispy Tempura Shrimp neatly on a serving platter lined with a sheet of decorative paper or a serving plate.
- Garnish with fresh lemon wedges, chopped parsley, and a small bowl of tempura dipping sauce. If desired, add grated daikon radish and a sprinkle of toasted sesame seeds for extra flavor and presentation.
- The finished Tempura Shrimp should have a light, crisp, golden coating with tender, juicy shrimp inside.
Step 8 – Serve and Enjoy

- Serve Tempura Shrimp immediately while it’s hot and crispy. Dip each shrimp into the tempura sauce just before eating to preserve the crunchy coating.
- For a complete Japanese-style meal, pair it with steamed rice, miso soup, seaweed salad, soba noodles, or fresh vegetables. Every bite should be light, crispy, and packed with delicate shrimp flavor.
👨🍳 Chef Tips
| Tip | Benefit |
|---|---|
| Keep the batter ice-cold | Produces a lighter, crispier coating |
| Don’t overmix the batter | Keeps the texture airy |
| Use fresh shrimp | Best flavor and texture |
| Fry in small batches | Maintains the oil temperature |
| Drain on a wire rack | Keeps the tempura crispy |
| Use a thermometer | Maintains consistent frying temperature |
| Dust shrimp with flour first | Helps the batter stick |
| Serve immediately | Best crunch and flavor |
⚠️ Common Mistakes
| Mistake | Solution |
|---|---|
| Warm batter | Always use ice-cold ingredients |
| Overmixed batter | Mix only until combined |
| Oil too cool | Maintain 175°C (350°F) |
| Overcrowding the fryer | Fry in small batches |
| Overcooking the shrimp | Fry only 2–3 minutes |
| Thick batter | Use a light coating |
| Draining on paper towels only | Use a wire rack for better crispness |
| Letting tempura sit too long | Serve immediately |
🍤 Delicious Variations
- Classic Shrimp Tempura – Traditional Japanese favorite.
- Vegetable Tempura – Sweet potato, zucchini, mushrooms, broccoli, and eggplant.
- Mixed Tempura – Shrimp with assorted vegetables.
- Spicy Tempura – Serve with spicy mayo.
- Tempura Sushi Roll – Use crispy shrimp in sushi rolls.
- Tempura Rice Bowl (Tendon) – Serve over steamed rice with sauce.
- Coconut Tempura Shrimp – Add shredded coconut to the batter.
- Air Fryer Version – A lighter alternative with less oil.
🍽️ Serving Suggestions
- Tempura Shrimp pairs perfectly with:
- 🍚 Steamed Rice
- 🍜 Udon or Soba Noodles
- 🍲 Miso Soup
- 🥗 Seaweed Salad
- 🥒 Pickled Vegetables
- 🫛 Edamame
- 🍋 Lemon Wedges
- 🍵 Green Tea
❄️ Storage & Reheating
| Storage Method | Recommended Time |
|---|---|
| Refrigerator | Up to 2 Days |
| Freezer | Up to 1 Month |
- Allow the tempura to cool completely before storing it in an airtight container. Reheat in an oven or air fryer at 190°C (375°F) for 5–8 minutes to restore crispiness. Avoid microwaving, as it softens the coating.
🥗 Nutrition Facts
- Approximate values per serving
| Nutrient | Amount |
|---|---|
| Calories | 390 kcal |
| Protein | 24 g |
| Carbohydrates | 26 g |
| Fat | 20 g |
| Fiber | 1 g |
| Sugar | 2 g |
| Sodium | 620 mg |
- Nutrition values are approximate and may vary depending on the ingredients used.
❓ Frequently Asked Questions
1. Why is my tempura not crispy?
The batter may have been too warm, overmixed, or the oil temperature was too low.
2. Can I use frozen shrimp?
Yes. Thaw them completely and pat them dry before coating.
3. What oil is best for tempura?
Neutral oils such as vegetable, canola, or sunflower oil work best.
4. Can I make the batter ahead of time?
It’s best to prepare the batter just before frying to keep it cold and light.
5. Can I make tempura without shrimp?
Yes. Sweet potatoes, mushrooms, zucchini, broccoli, asparagus, and eggplant are popular alternatives.
6. Why do my shrimp curl while frying?
Make a few shallow cuts along the underside of each shrimp before coating to help them stay straight.
7. Can I reuse the frying oil?
Yes. Strain the cooled oil to remove crumbs and reuse it a limited number of times for frying.
8. What dipping sauce goes best with Tempura Shrimp?
Traditional tempura dipping sauce made with dashi, soy sauce, and mirin is the classic choice.
Leave a Reply