
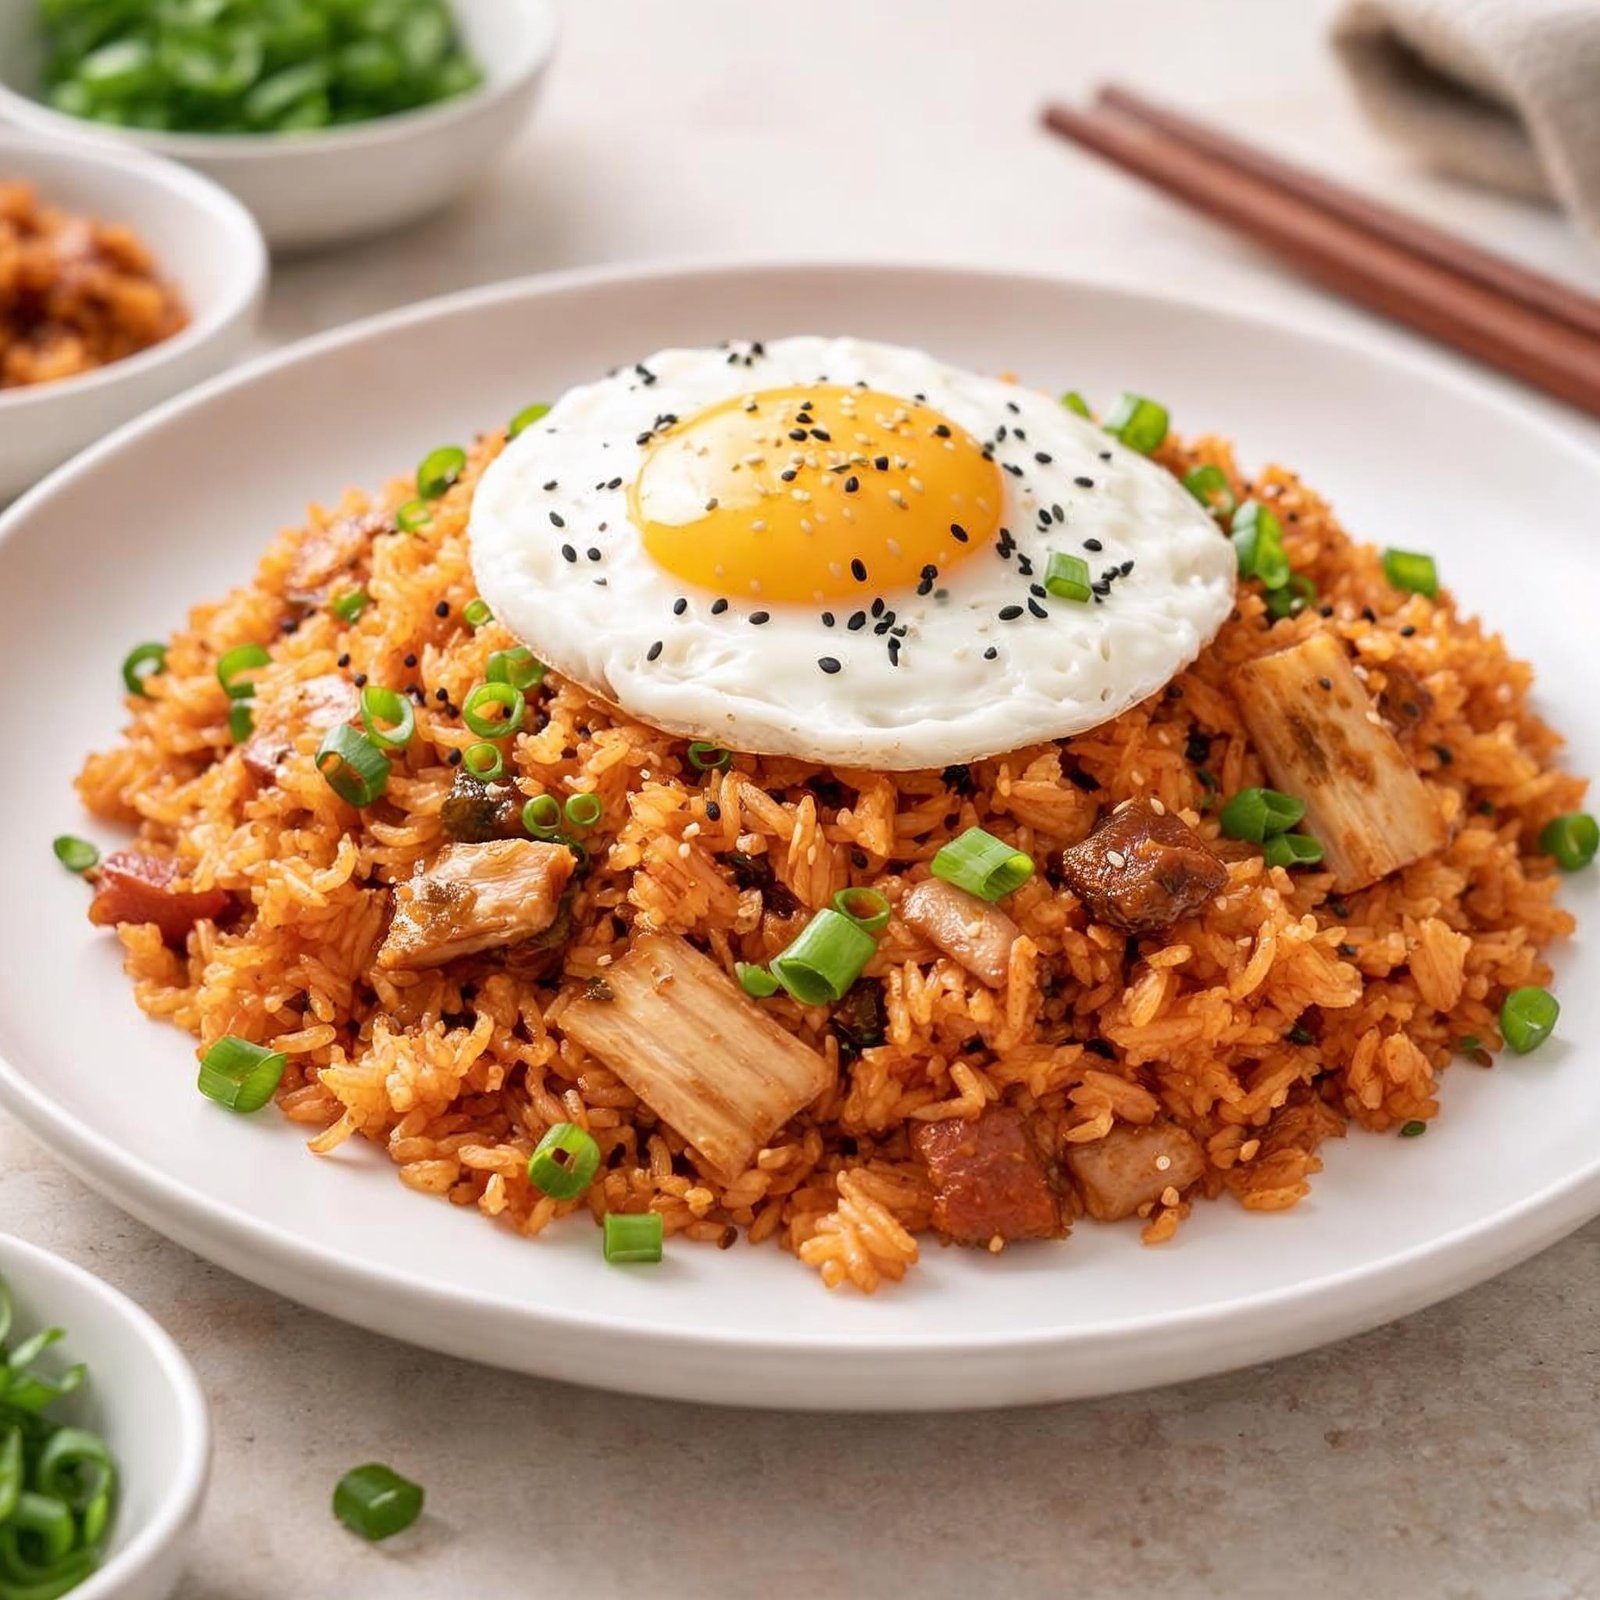
Kimchi Fried Rice Recipe – Spicy, Flavorful & Korean-Style
- Kimchi Fried Rice, also known as Kimchi Bokkeumbap, is a popular Korean comfort food made with day-old rice, fermented kimchi, vegetables, and a savory-spicy sauce. It’s often topped with a perfectly fried egg, sesame seeds, and sliced green onions for a complete, satisfying meal.
- The secret to great Kimchi Fried Rice is using well-fermented kimchi and cold, day-old rice. These ingredients create the perfect balance of tangy, spicy, and savory flavors while keeping the rice light and fluffy instead of sticky.
- This easy homemade recipe is perfect for a quick lunch, dinner, or using up leftover rice.
Recipe Information
| Details | Information |
|---|---|
| Cuisine | Korean |
| Course | Main Course |
| Preparation Time | 15 Minutes |
| Cooking Time | 15 Minutes |
| Total Time | 30 Minutes |
| Difficulty | Easy |
| Servings | 4 |
| Calories | Approximately 480 kcal per serving |
Ingredients

For the Fried Rice
| Ingredient | Quantity |
|---|---|
| Cooked Day-Old Rice | 4 Cups |
| Kimchi (Chopped) | 2 Cups |
| Kimchi Juice | 3 tbsp |
| Garlic (Minced) | 3 Cloves |
| Onion (Chopped) | 1 Medium |
| Vegetable Oil | 2 tbsp |
| Soy Sauce | 2 tbsp |
| Gochujang (Korean Chili Paste) | 1 tbsp |
| Sesame Oil | 1 tsp |
| Black Pepper | ½ tsp |
For Garnish
| Ingredient | Quantity |
|---|---|
| Fried Eggs | 4 |
| Green Onions (Sliced) | 2 |
| Sesame Seeds | 1 tbsp |
| Roasted Seaweed (Optional) | Crushed |
Equipment Needed
- Large wok or frying pan
- Wooden spoon or spatula
- Sharp knife
- Cutting board
- Small frying pan (for eggs)
- Measuring cups and spoons
Step 1 – Prepare the Ingredients

- Chop the kimchi into bite-sized pieces. Finely chop the onion and mince the garlic.
- Break up any large clumps of the cold cooked rice using your hands or a spoon so the grains separate easily during frying.
- Measure all the remaining ingredients before you begin cooking, as the stir-frying process moves quickly.
Step 2 – Cook the Aromatics

- Heat the vegetable oil in a large wok or frying pan over medium-high heat.
- Add the chopped onion and cook for 2–3 minutes until softened. Stir in the minced garlic and cook for another 30 seconds until fragrant, being careful not to let it burn.
Step 3 – Cook the Kimchi

- Add the chopped kimchi to the pan and stir-fry for 3–4 minutes until it softens and becomes slightly caramelized.
- Stir in the kimchi juice, soy sauce, and gochujang, mixing everything well so the kimchi is evenly coated with the flavorful sauce.
- The mixture is now ready for the rice.
Kimchi Fried Rice Recipe – Spicy, Flavorful & Korean-Style (Part 2)
Step 4 – Add the Rice

- Add the cooked day-old rice to the wok with the kimchi mixture. Using a spatula, gently break apart any remaining clumps and stir well so every grain of rice is evenly coated with the spicy kimchi sauce.
- Cook over medium-high heat for 4–5 minutes, stirring frequently until the rice is heated through and lightly toasted.
Step 5 – Season the Fried Rice

- Drizzle the sesame oil over the fried rice and sprinkle in the black pepper. Stir thoroughly to combine all the flavors.
- Taste the rice and adjust the seasoning if needed. Add a little more soy sauce for extra savoriness or an extra spoonful of kimchi juice if you prefer a tangier flavor.
- Continue stir-frying for 1–2 minutes until everything is well combined and fragrant.
Step 6 – Fry the Eggs

- While the fried rice finishes cooking, heat a small non-stick skillet over medium heat.
- Crack the eggs into the pan and cook until the whites are fully set while the yolks remain soft and runny, about 3–4 minutes. If you prefer firmer yolks, cook for an additional minute.
- Set the fried eggs aside until you’re ready to serve.
Kimchi Fried Rice Recipe – Spicy, Flavorful & Korean-Style (Part 3)
Step 7 – Garnish and Final Touch

- Divide the hot Kimchi Fried Rice evenly among serving bowls or plates. Place one fried egg on top of each serving.
- Sprinkle generously with sliced green onions and toasted sesame seeds. If desired, garnish with crushed roasted seaweed (gim) for extra flavor and a traditional Korean touch.
- The finished dish should be colorful, aromatic, and topped with a perfectly cooked egg whose runny yolk mixes beautifully with the spicy rice.
Step 8 – Serve and Enjoy

- Serve Kimchi Fried Rice immediately while it’s hot. Mix the egg yolk into the rice before eating for an extra creamy texture.
- For a complete Korean-style meal, serve with extra kimchi, cucumber salad, pickled radish, or Korean-style soup. Every bite should combine spicy kimchi, fluffy rice, savory seasonings, and rich egg yolk.
👨🍳 Chef Tips
| Tip | Benefit |
|---|---|
| Use day-old rice | Keeps the grains separate |
| Choose well-fermented kimchi | Provides the best flavor |
| Cook over high heat | Creates authentic fried rice texture |
| Stir continuously | Prevents sticking |
| Add sesame oil at the end | Preserves its aroma |
| Use a runny fried egg | Adds richness |
| Taste before serving | Adjust seasoning easily |
| Serve immediately | Best texture and flavor |
⚠️ Common Mistakes
| Mistake | Solution |
|---|---|
| Using freshly cooked rice | Cool it completely or use day-old rice |
| Too much kimchi juice | Add gradually |
| Overcrowding the pan | Use a large wok |
| Cooking on low heat | Use medium-high to high heat |
| Adding sesame oil too early | Add it at the end |
| Overcooking the egg | Keep the yolk slightly runny if desired |
| Not breaking rice clumps | Separate the grains before frying |
| Over-seasoning | Taste before adding more soy sauce |
🍚 Delicious Variations
- Classic Kimchi Fried Rice – Traditional Korean favorite.
- Pork Kimchi Fried Rice – Add diced pork belly.
- Chicken Kimchi Fried Rice – Stir in cooked chicken.
- Beef Kimchi Fried Rice – Add thinly sliced beef.
- Tuna Kimchi Fried Rice – Mix in canned tuna.
- Cheese Kimchi Fried Rice – Top with melted mozzarella.
- Vegetarian Kimchi Fried Rice – Add tofu and vegetables.
- Spicy Kimchi Fried Rice – Extra gochujang and chili flakes.
🍽️ Serving Suggestions
- Kimchi Fried Rice pairs perfectly with:
- 🥚 Fried Egg
- 🥬 Extra Kimchi
- 🥒 Cucumber Salad
- 🥣 Korean Soup
- 🥟 Dumplings (Mandu)
- 🥗 Pickled Radish
- 🌿 Roasted Seaweed
- 🍵 Green Tea
❄️ Storage & Reheating
| Storage Method | Recommended Time |
|---|---|
| Refrigerator | Up to 3 Days |
| Freezer | Up to 1 Month |
- Store leftovers in an airtight container in the refrigerator for up to 3 days. Reheat in a skillet over medium heat or in the microwave until thoroughly heated. If frozen, thaw overnight in the refrigerator before reheating.
🥗 Nutrition Facts
- Approximate values per serving
| Nutrient | Amount |
|---|---|
| Calories | 480 kcal |
| Protein | 14 g |
| Carbohydrates | 58 g |
| Fat | 20 g |
| Fiber | 3 g |
| Sugar | 5 g |
| Sodium | 980 mg |
- Nutrition values are approximate and may vary depending on the ingredients used.
❓ Frequently Asked Questions
1. Can I use freshly cooked rice?
Yes, but day-old rice gives the best texture. Fresh rice should be cooled completely before frying.
2. Is Kimchi Fried Rice very spicy?
It has a mild to medium spice level, which you can adjust by adding more or less gochujang.
3. Can I make it vegetarian?
Yes. Use vegetarian kimchi and add tofu or extra vegetables.
4. Can I add meat?
Absolutely. Pork belly, chicken, beef, bacon, or tuna are popular additions.
5. Why is my fried rice sticky?
Fresh rice contains more moisture. Day-old chilled rice works best.
6. Can I freeze Kimchi Fried Rice?
Yes. Freeze in airtight containers for up to 1 month.
7. What is the best kimchi to use?
Well-fermented napa cabbage kimchi provides the richest flavor.
8. Can I make it less spicy?
Yes. Reduce the amount of gochujang and use less kimchi juice.
Leave a Reply